Quiet Garden Progress

Standard

I’ve just finished my second class at seminar, Catherine Jordan’s “Quiet Garden.” This was my second choice when I didn’t get into the very popular “Radishes,” but it certainly was not a second-rate class! Catherine is an excellent teacher, and once again I learned many new things. The project is an embroidered knot garden on linen, attached to a faux-finished papier-mâché box in the form of a book. It’s always nice to learn a finishing method that is not the standard framing.

The stitching is almost entirely double running stitch and French knots on 32-count linen but we also had to do some painting on the fabric. Here is what mine looked like after I’d done some painting but before starting any French knots:

My progress, sideways.

My progress, sideways.

And here it is with some French knot shrubs added:

End of day two.

End of day two.

The thing that was the scariest for most of us was painting the book. In the end everyone’s looked different, but they were all wonderful. And I think because it was the scariest part, it’s the part I’m most proud of. Take a look:

My book.

My book.

After this experience, I’m going to look into some of Catherine’s other projects, specifically the embroidered maps. One of the best things about seminar is having the opportunity to do things that are a little unusual for you, and learning that you like them!

Radishes Day 1

Standard

For love of root vegetables! Jennifer Riefenberg has designed a series of 3 pieces around carrots, radishes and beets. She has taught Carrots at many stitching events and Radishes is being introduced here at Seminar. Beets will be offered next year.

I am one of the fortunate stitchers to get into this class as it went to lottery and many who had requested it did not get in. Jennifer is a wonderful teacher, generous with her time. Also very organized – the kit for this class is an indicator.

As you can see, we worked on two of the three radishes on Day 1. Day 2 will bring stump work on the leaves – this is a technique I have never used before so I have some trepidation about how my leaves will come out. However, the three dimensional effect will be great. There will be shadow leaves stitched into the canvas and the stump work leaves attached to it.

Day 1 progress

Well, off to see what needlepoint adventures today brings!

And now for something completely different

Standard

This time I’m not going to show you pictures of one of my projects, but instead tell you about a cool stitching tool that Sue Reed found at Staples. They are called Magnetic Notes and come in a variety of sizes. They are kind of like Post-It notes, but instead of sticky stuff, they cling using static electricity. Sue handed out 8×4 rectangles for us to use to cover up the diagram we were NOT supposed to be looking at. Very cool!

Creative Collage – Day One

Standard

Today was Day 1 of Suzanne Howren's and Tony Mineri's Creative Collage class. I have really been looking forward to this class as many of you know since I love working on painted canvases using my own stitch guides. However, my skills in this area were very limited.

While the day started with receiving our canvas and threads. We examined the canvas as well as several others in terms of which elements were in the foreground, middle ground, and background. This is important in determining the weight and colors of stitches and threads to use. What became apparent to me is that where items sit is different than the focal point of the canvas.

Next we were given graph paper with a teardrop and another with an irregular figure (think amoeba!) and had to figure out what stitches were most appropriate for each figure that would be consistent with its direction while emphasizing its shape and direction. This took a lot of trial and error, erasing, color pencils, etc. who knew how difficult yet how obvious once you found an appropriate stitch. We then played around a lot with trellis type stitches. The big aha for me was you don't have to treat it as a trellis – it's a style of stitch combinations. You can provide as much or as little coverage as appropriate for the area of canvas you're covering. This is a great technique for covering variable colored areas where the color is not intricate to the picture. We finished the day talking about background stitches and threads.

As you can see, we spent the day using our brains to figure out the best way to work with a painted canvas and did no stitching. There was so much information shared which triggered so many ideas that I was exhausted!

This was my first class with either Suzanne or Tony. They are a wealth of knowledge and ideas. They readily answered questions, eyed our ideas and helped us flesh them out to do what we wanted. I can't wait to see what tomorrow brings!

Diane

Slacker Blogster

Standard

Hi Everyone —

So, once again I am a day late and a dollar short.  I’m not called “Slacker Mom” for nothing you know!!  I think that’s something that Debbie could add to her list of addiction indicators — “Do your kids and husband refer to you as ‘slacker’?”

Perhaps you had to be at our opening banquet to appreciate that last remark!

Anyway — some of you know that I recently accepted a job as project manager for a submarine cable project in northern Alaska!  So in between stitching, I have been taking conference calls, reading permit applications, and trying to be responsive to a myriad of questions from all quarters.  Frankly, it’s exhausting.

So, before I settle down to read tonight’s application and to do my stitching homework for tomorrow, I thought I would fill you in on what I’ve been up to at seminar.  Yesterday marked the conclusion of “Colorful Croton” with Joni Stevenson.  I dearly love this piece and found it to be quite interesting to stitch.  (This is my favorite piece at this year’s seminar, Joni’s Chicago Blues was my favorite at last year’s seminar, and there are at least two Joni pieces that are vying to be my favorites at next year’s seminar!)

IMG_2212

The main canvas for “Colorful Croton”. One of the steps in this is “coloring” the canvas from white to this lovely purple-blue-gray color! There are three different blackwork patterns on the large croton leaves!

IMG_2213

The small leaves of the croton are also done in a blackwork pattern! These leaves will be cut out of the canvas and tacked to the main canvas. But first I have to put bright red-orange veins on ALL of the leaves!

Today I started a new class, “Tudor Garden”.  The class was supposed to be taught by Merrilyn Heazlewood, but when her visa didn’t come through to support her travel from Australia, Susan Hoekstra stepped in to moderate the class with Merrilyn checking in and demonstrating the project using “Go to Meeting” software.  It’s a valiant try by ANG to make the best of a tough situation.  Susan is past president of our NJNA chapter who recently moved to Maine, so it’s great to be spending the two days with her!

I think I just liked the look of all the colors in Tudor Garden.  It is a delight to stitch, fairly easy, but with wonderful colors and threads!

I think I just liked the look of all the colors in Tudor Garden. It is a delight to stitch, fairly easy, but with wonderful colors and threads!

This is the first time ANG has tried “distance learning” (or so they tell us) and there are a few kinks still to be worked out.  One is getting the right combination of lighting for stitching and darkness for projecting Merrilyn on the screen!  The extra spotlights helped the first issue but made the room awfully hot!  But it’s exciting to be part of this experiment and we are happy to listen to Merrilyn’s lovely Australian accent!

Tonight our group was torn in many directions  with meetings of chapter officers, cyberpointers, and other meetings!  So Carol, Diane, and I found a Teppan Yaki restaurant and enjoyed a delicious Japanese Hibachi dinner.  It wasn’t cooked at our table, but it tasted as if it had been!  And, yes, Meg — I had sake!  Our waitress even brought me slices of cucumber to float in the glass!

Kanpai!!

Kanpai!!

Time for Slacker Mom to put in those tent stitches for tomorrow’s 8:00 AM class!

Cheers!  Rosie

Day 1 of Jewel by Toni Gerdes

Standard

via PressSync
What a great day I had today! I had some trepidation about keeping up with the more experienced stitchers. However, Toni is an excellent teacher and classroom manager. Her handouts are superbly done and she explained everything. Toni made it easy for us by doing the pre-work on the canvas herself. She took each student’s canvas and counted out and then enlarged holes that were key intersections. She opted not to draw the design because she was afraid many of the pencil lines would show through. She also paced the class so that we had ample time to work in an area. Much of the outlining came before the other stitches. That makes one feel better because more of your canvas is covered! I chose to do my project on 18 mesh, however many of the students were doing theirs on Congress cloth. My goal is to get more adept and do less ripping out, so that next time I can use Congress cloth too. Toni is very generous in spirit and gives freely of her expertise. Her pre-work was crucial and I know it took her a lot of time for each canvas. She was very excited to hear that I would be blogging about the class and readily agreed to let me publish a picture of the finished product. She loves to come and teach local chapters.

wpid-20150928092612.jpgToni’s version

Mine, so far.

My day ended at the Cyber Pointers meeting where I won my membership for next year. All in all a great day.

Autumn 3 Ways – Day 2

Standard

Yesterday was Day 2 of Toni Gerdes’ Autumn 3 Ways. Whereas on Saturday we concentrated on each ot the 3 techniques for the leaves, day 2 focused on the borders, which are dramatic. There are 5 borders, each more dramatic than the last. We spent time working on each border in turn, especially since it was needed to place the next border. Border 4 that looks like ribbons is really multi-trip Herringbone done in 16 passes! Each of the borders took some time to get the pattern but then flowed very well.

My progress – day 2

Toni was a phenomenal teacher who took the time we needed and always made sure we understood and we’re counting correctly! I thoroughly enjoyed this class even though I still have a long way to go. It was definitely worth my time as I learned several new techniques as well as have a piece I love!

Diane

The Mystery of Life

Standard

This is my second geometric with Sue Reed, and it is a beauty. The original color way is red and green and gold, very rich and medieval-looking.

Here is mine, in the purple and lime green colorway, after day two. apologies for the bluish cast to the photo…I had a choice of bluish or yellowish, as my camera did not seem to want to cooperate. (I will post a better photo later if I can.)

Purple colorway

Purple colorway

At first I was a little taken aback at my colors…not the colors themselves, but where they were placed in the design. Somehow I had it in my mind that my purple would take the place of the red in the original, but in fact it is the lime green that takes center stage, with purple as an accent. As I stitched, though, I liked it more and more. We have some options in laying in the color in the knots, and so I think I will be able to make the piece emphasize the purple a little more in the end.

Sue Reed is a wonderful teacher, and one learns a tremendous amount from her in a class. She does a great job of showing how to improve our stitching by paying attention to details that we might not even think of on our own.

I’m a “First Timer”

Standard

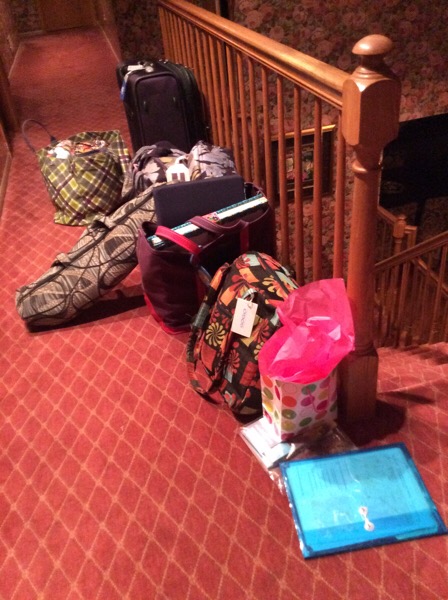
I’m a little bit behind in the blogging. But here goes. With much anticipation and excitement, I set off for Myrtle Beach on Friday. My 89-year-old mother-in-law, who lives a half a mile from where the pope slept in Philadelphia, warned me to not come anywhere near Philadelphia on Friday. That left an interesting dilemma as I was taking the exact route that the pope would take later in the day. Diane came to my rescue and suggested a westerly route through Harrisburg and then head south. So, I did not have to worry about running into hordes of visitors going to Philadelphia. One advantage of taking the car is being able to take anything your stitching heart desires. Look at the pile of bags at the top of my steps.

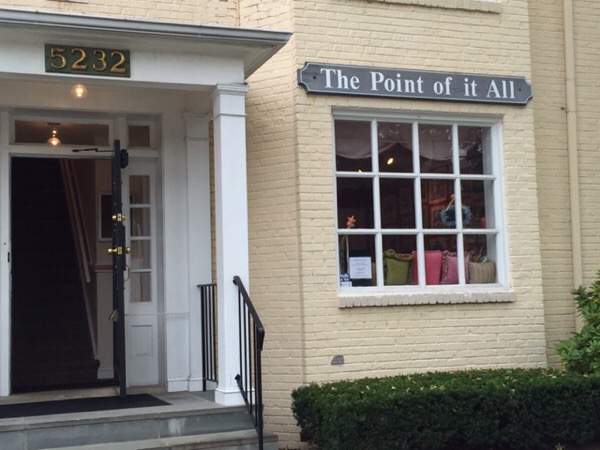
Of course, on my way, I had to stop at needlepoint stores. My first stop was in Washington DC. I went to see The Point of it All. It was quite aesthetically pleasing. What I noticed however, was that there were far more 13 mash painted canvases then 18 mesh. I did not see any charts for counted work at all. Also, the people working in the shop, as well as the customers who came in, all worked in hand. I was surprised by these elements. Although I didn’t buy anything, I’m not sorry I went. I’ve been curious about the shop for a while.

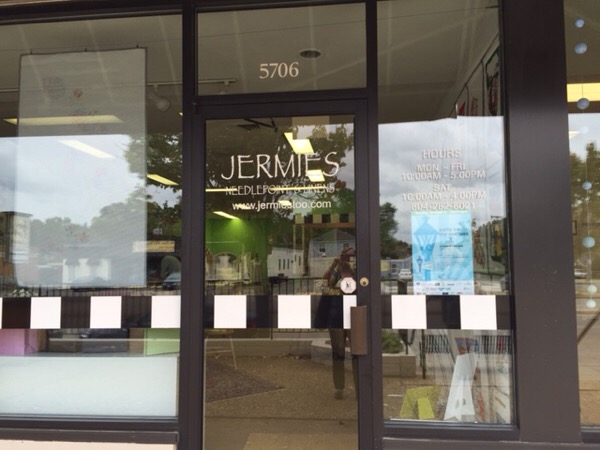
Back on the road again, I made my way to Richmond, where I was to spend the night with a friend I had made during my Smocking Arts Guild days. We had not seen each other in well over 20 years. However, we had a great time catching up. She took me to two needlepoint shops in Richmond, across the street from each other! The first one, Jermies, has been in business for 40 years. They had lovely canvases. I noticed that just like in The Point of it All, the edges of the canvas were finished with sewn on bias tape. It was really a clean and neat way to finish off the raw edges. Jermies also had find linens. Interesting combination!

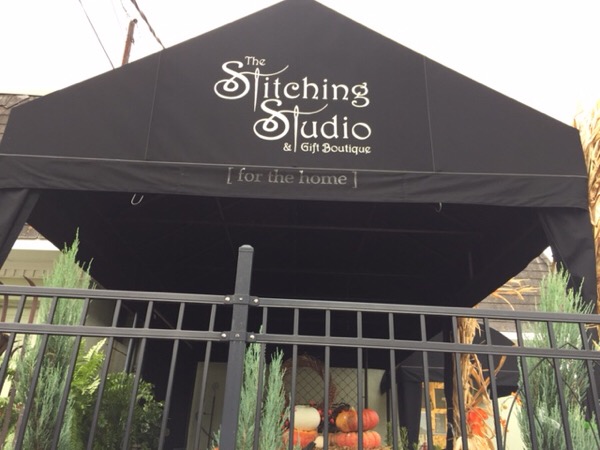
The second shop, The Stitching Studio, didn’t look like a needlepoint store from the outside. Once you got in, it resembled more of what we have in New Jersey. It was just much smaller. The store owners were quite nice.

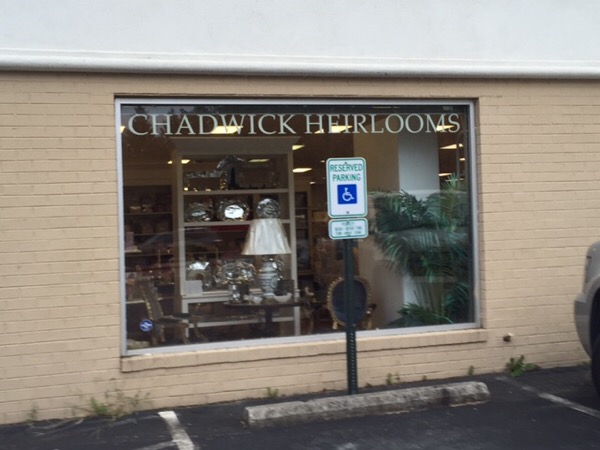
My last stop in Richmond, was my friends own store. She used to own one of the finest antique stores in Richmond. She “retired” two years ago, moved to a new location and opened up an heirloom sewing/smocking/quilting store with the finest fabrics and laces in the area. She is starting to concentrate more on the quilting fabrics. In addition, she also had beautiful gift items. I had great fun seeing what she did with her space. Lastly, she’s an Elna sewing machine dealer. Her house had at least six sewing machines in it.

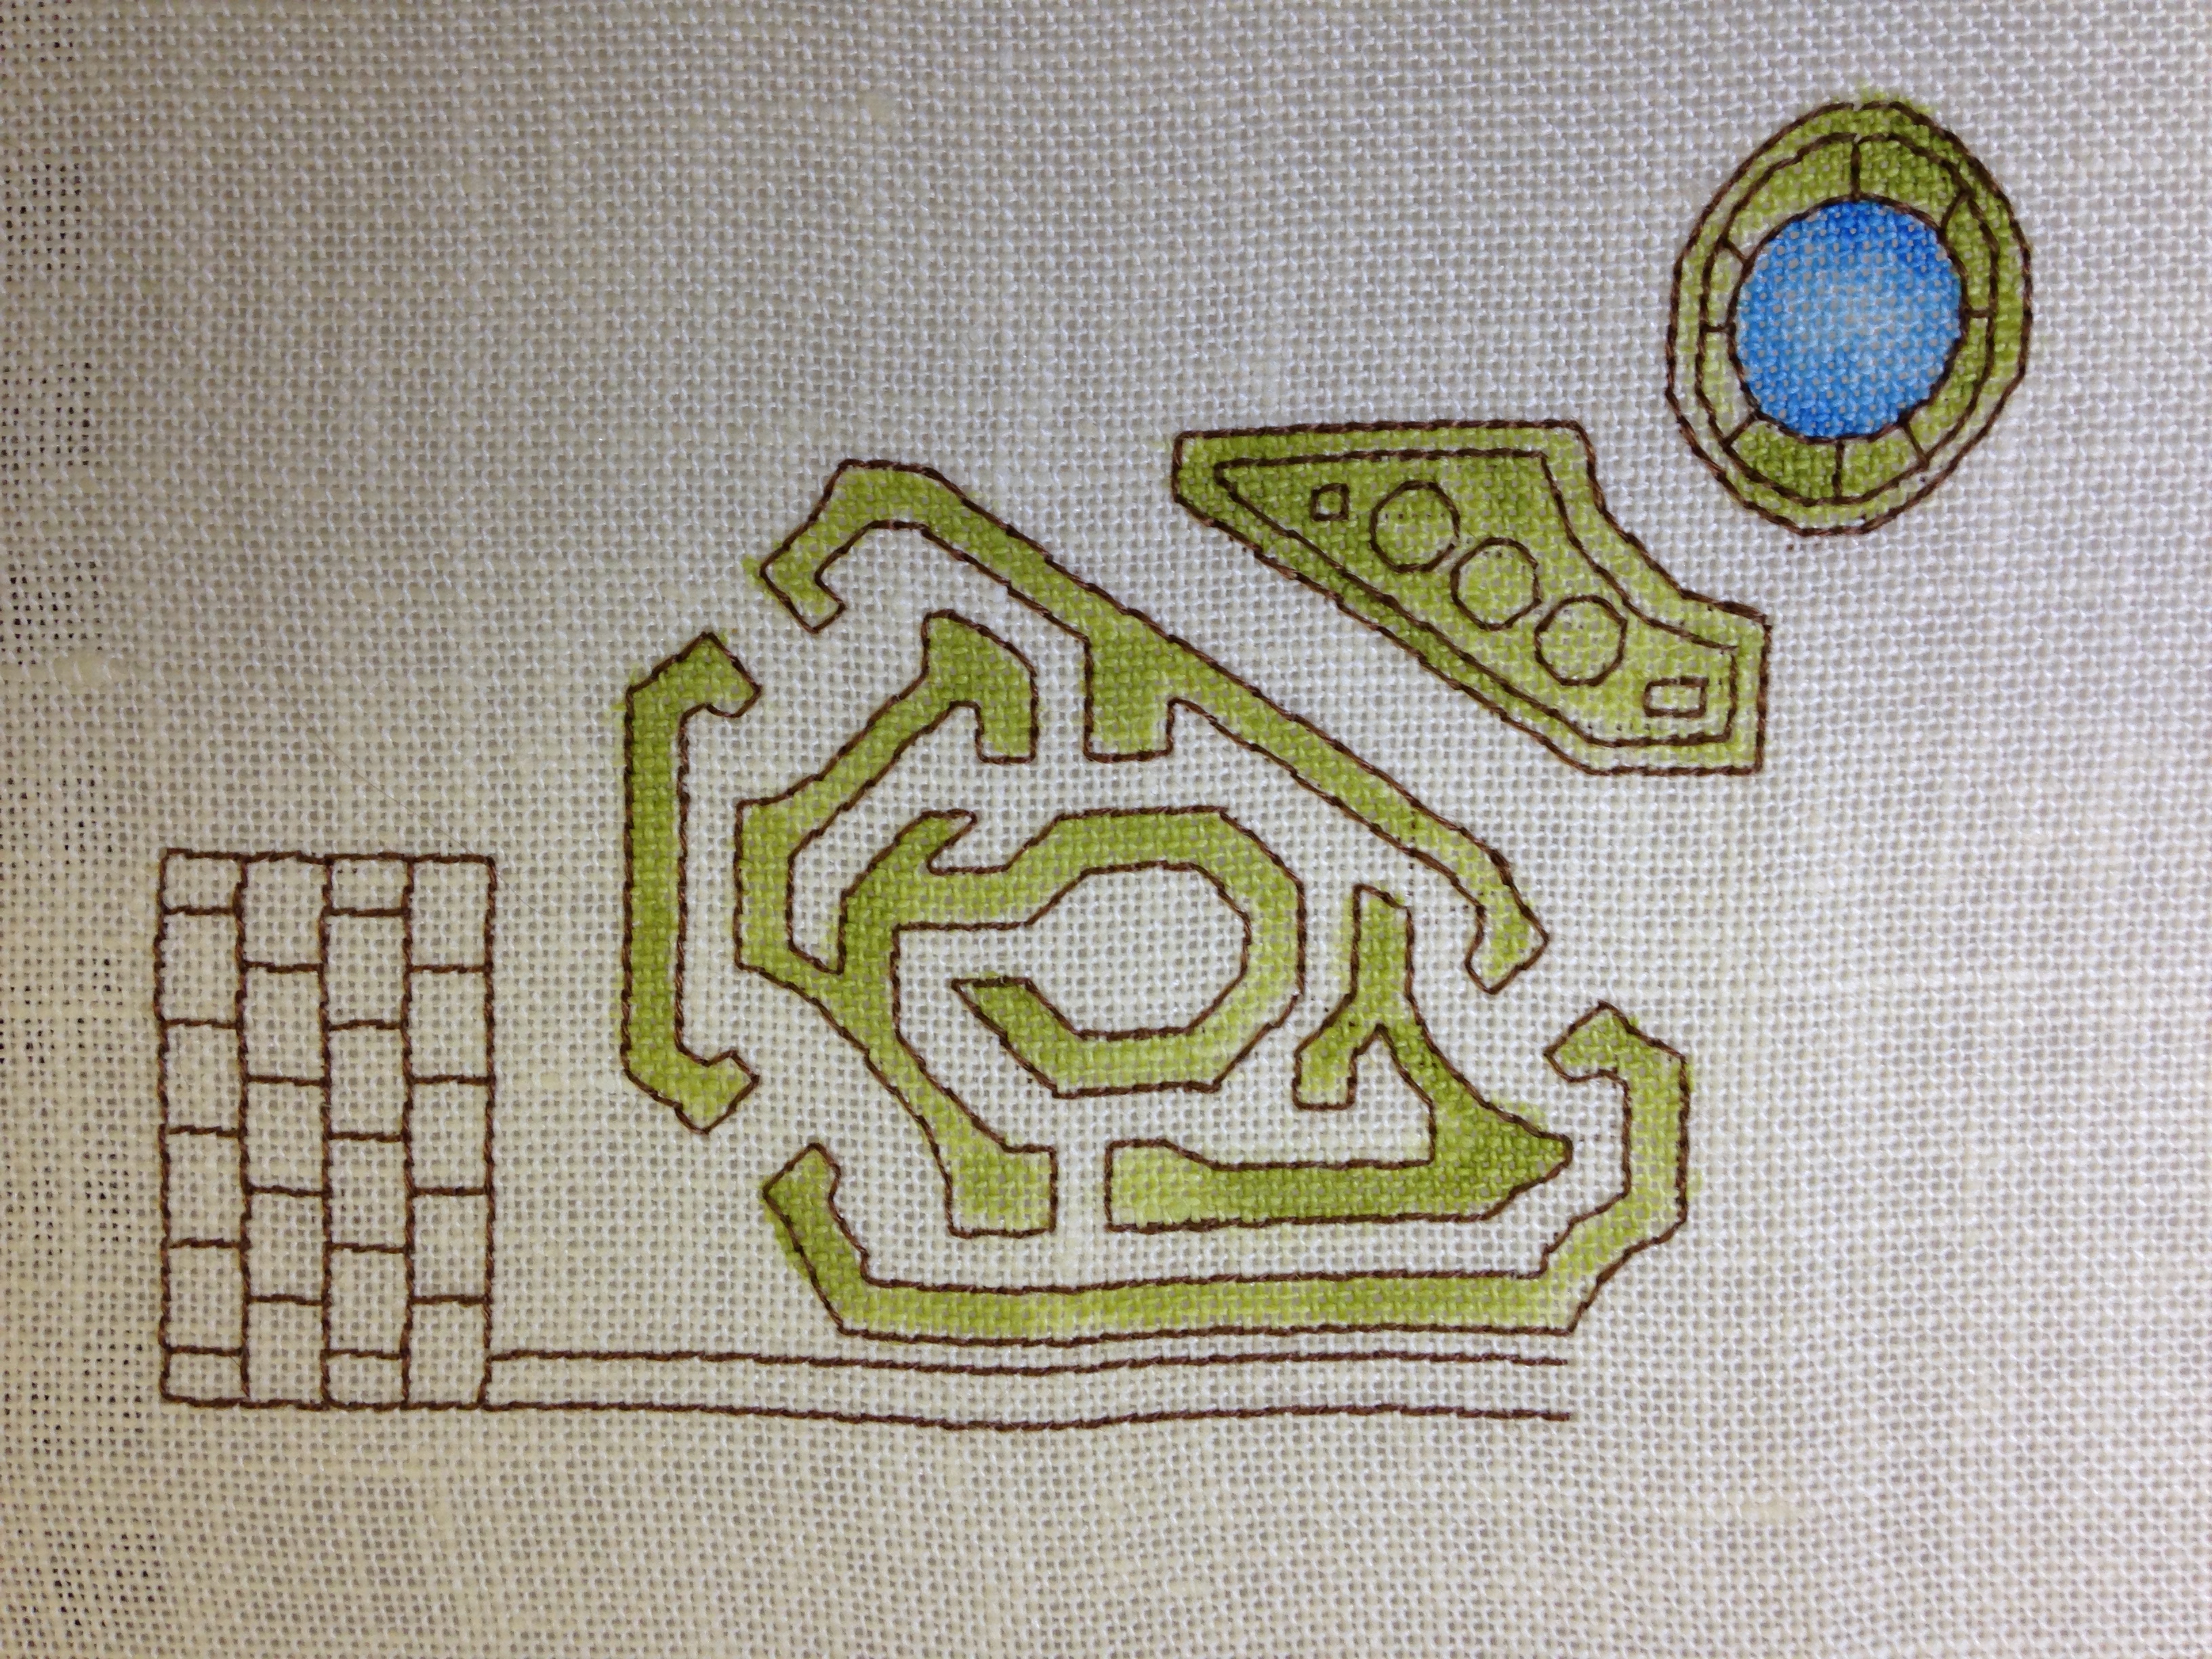
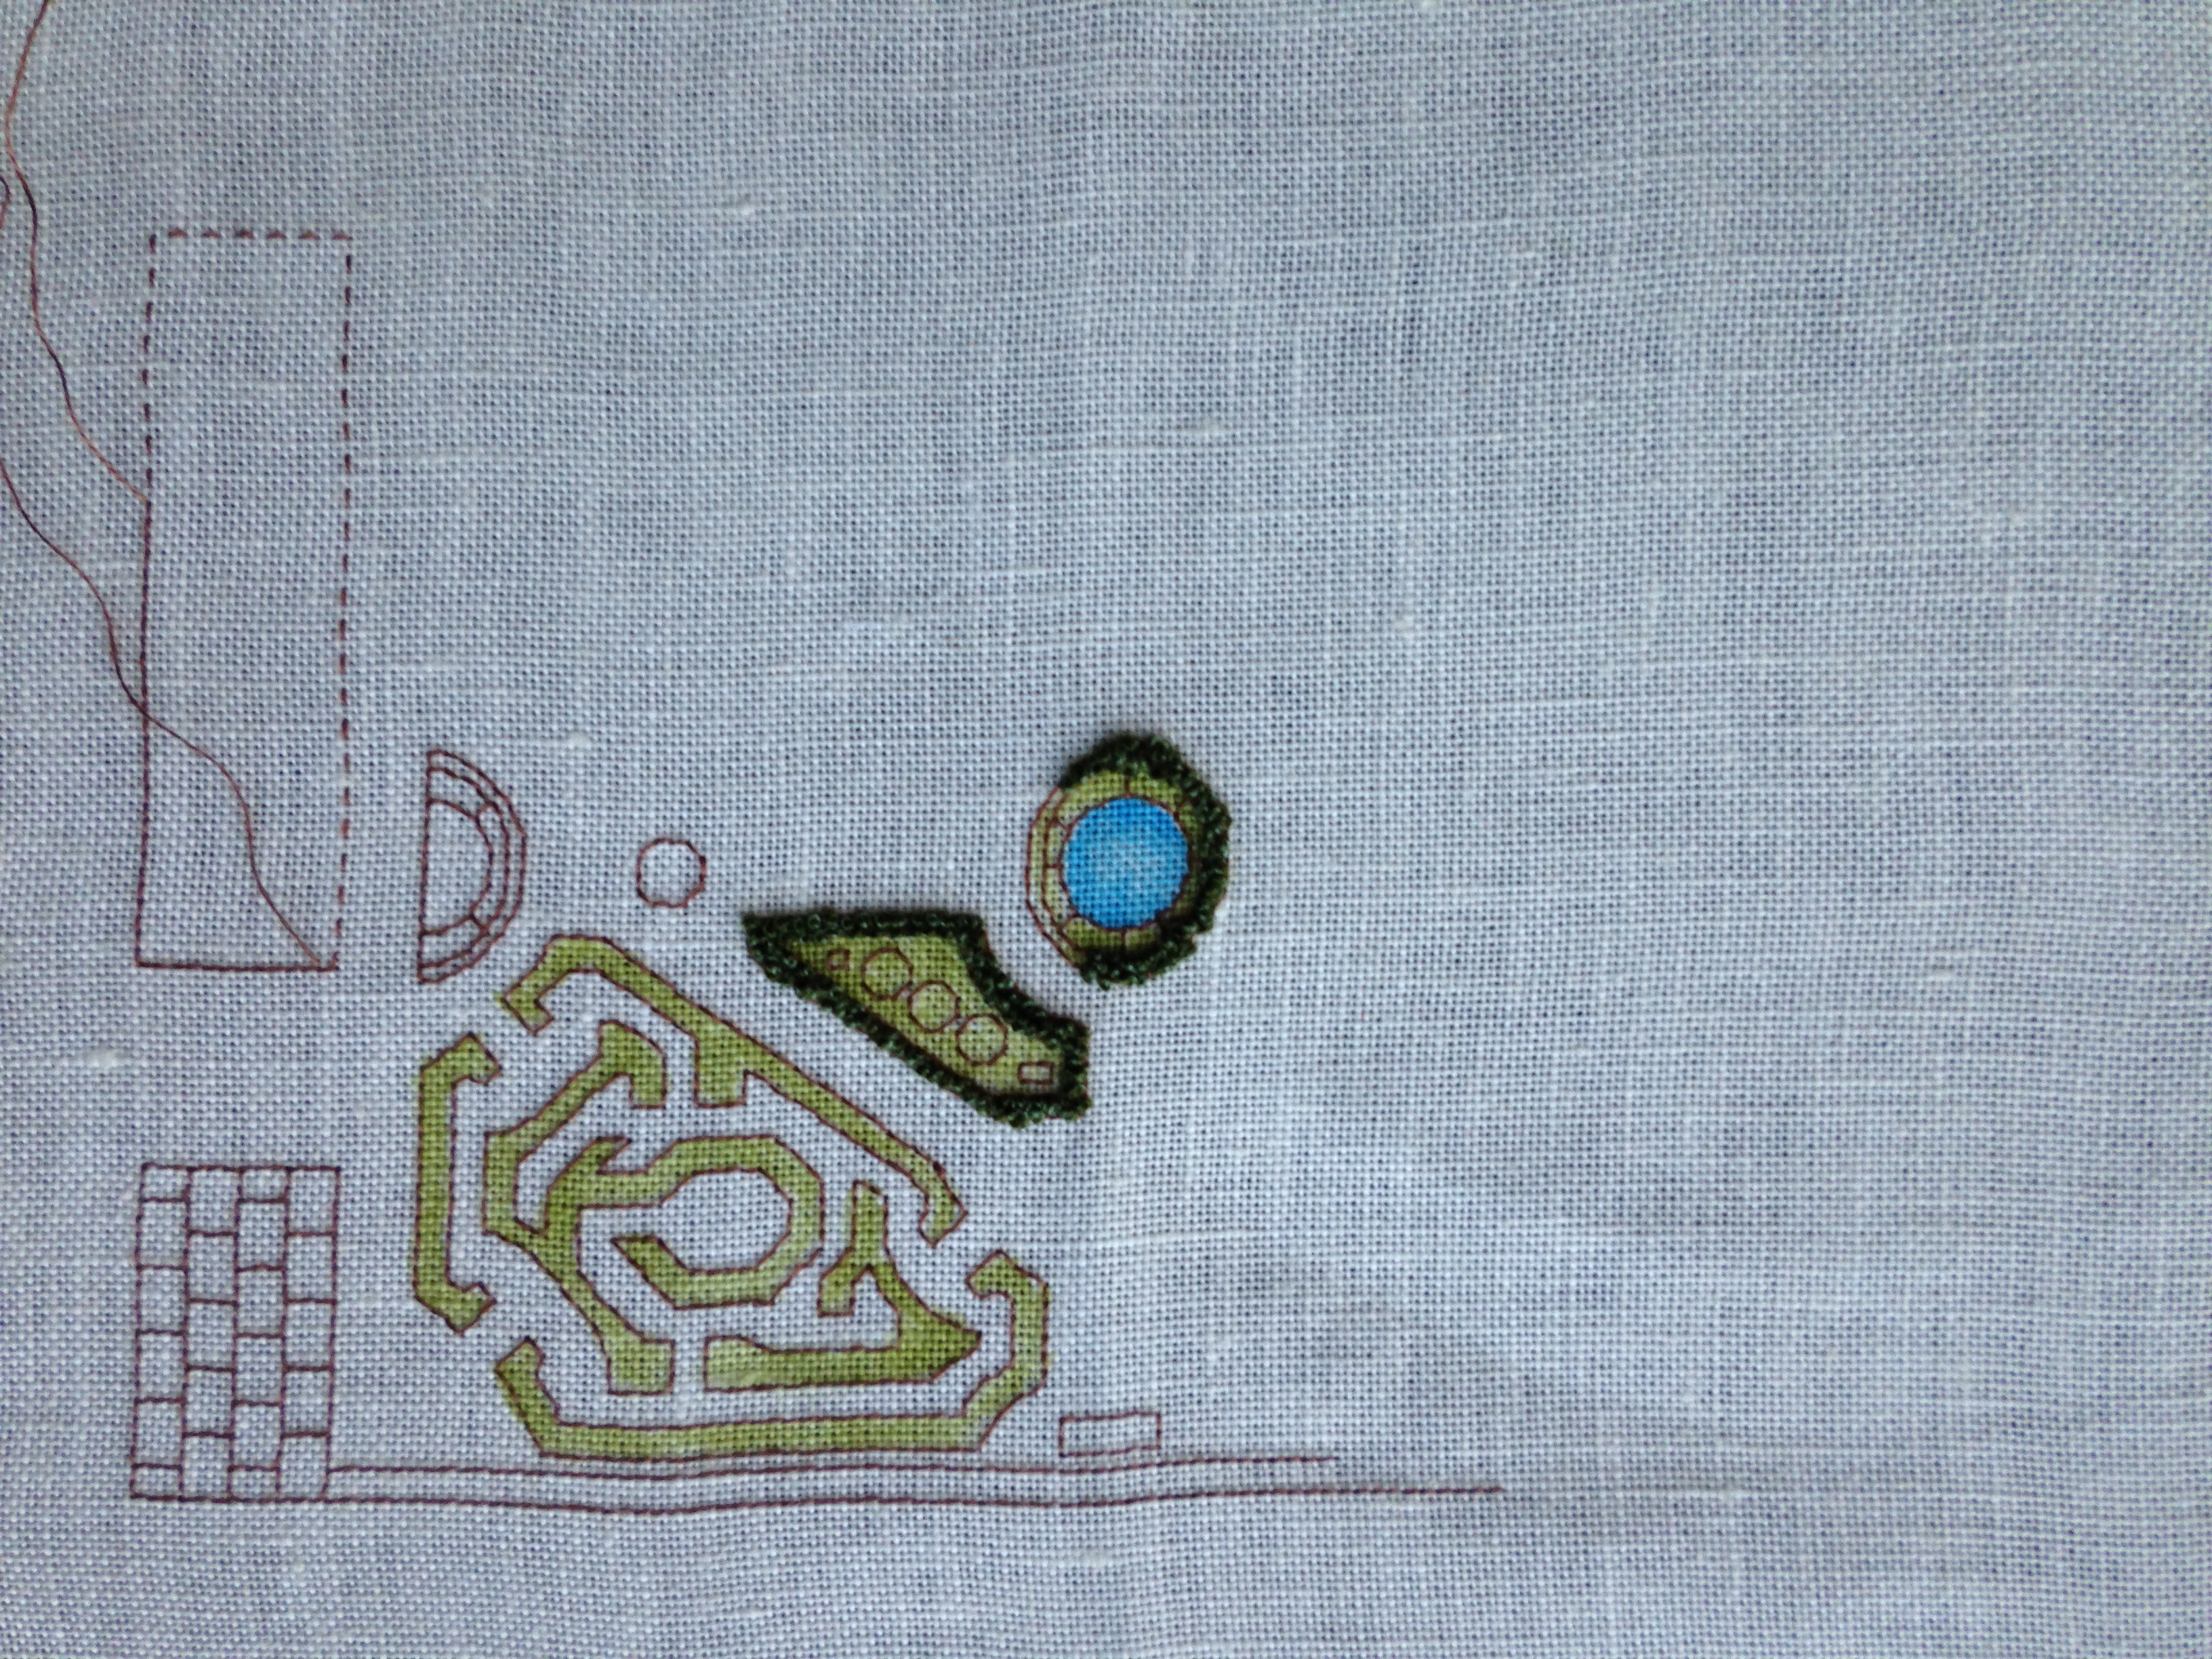
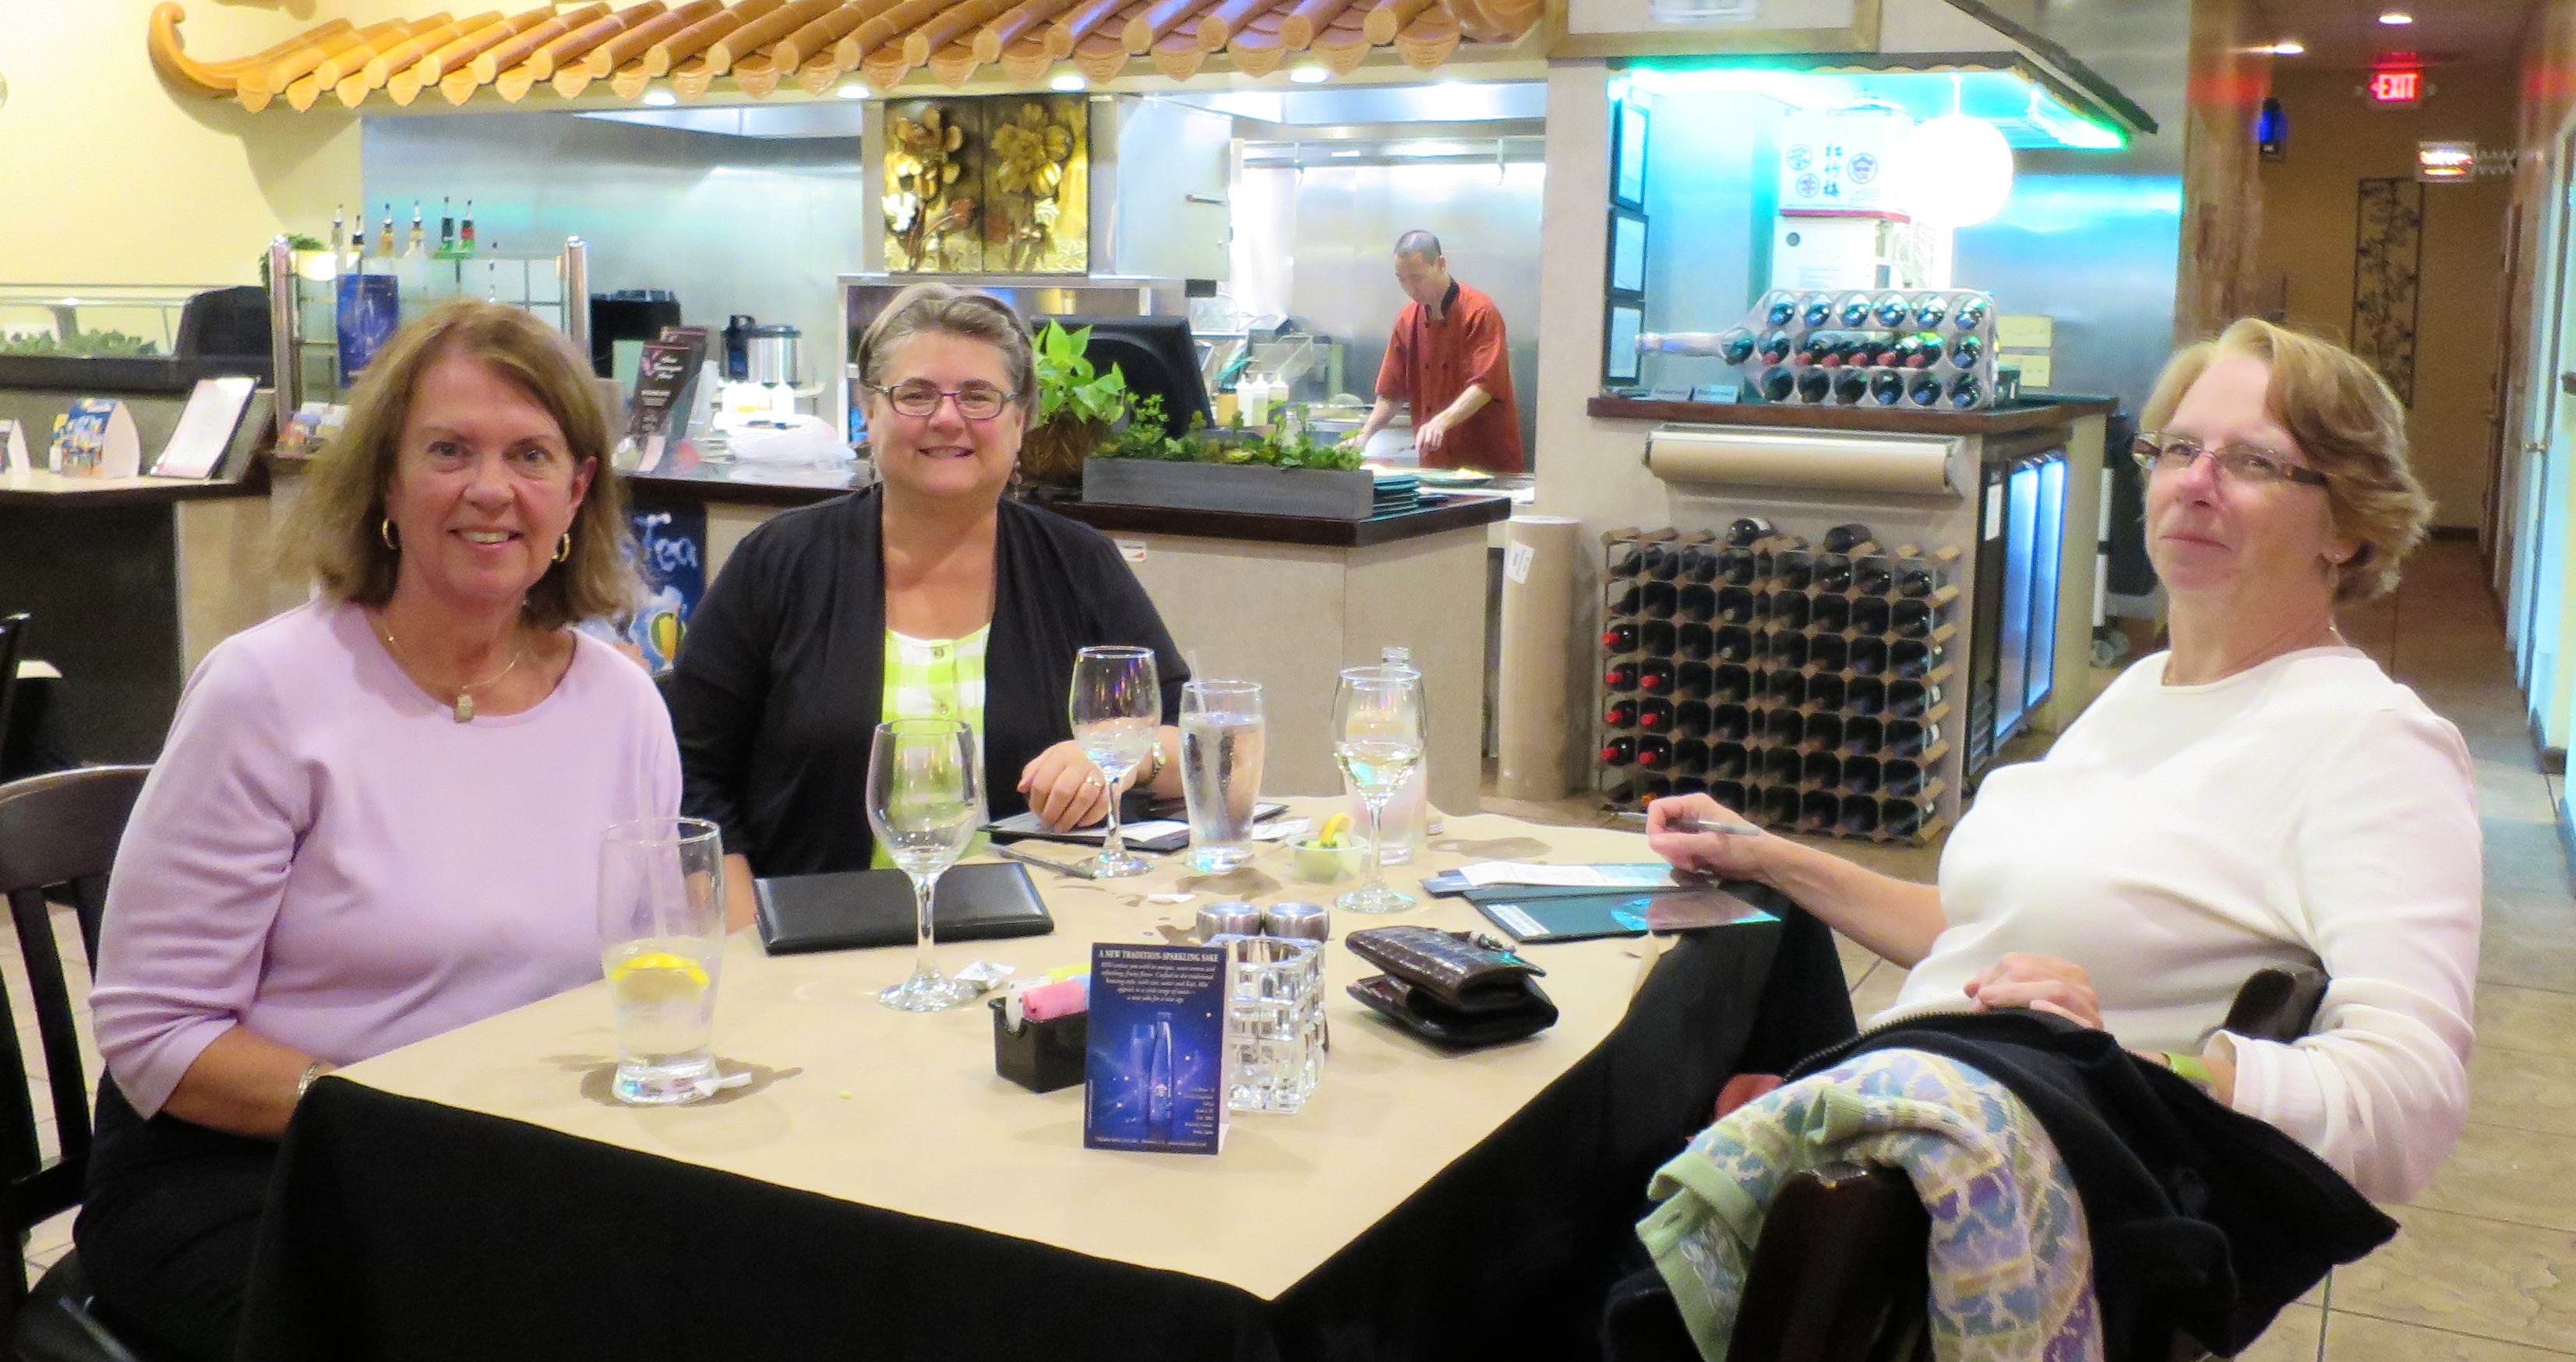
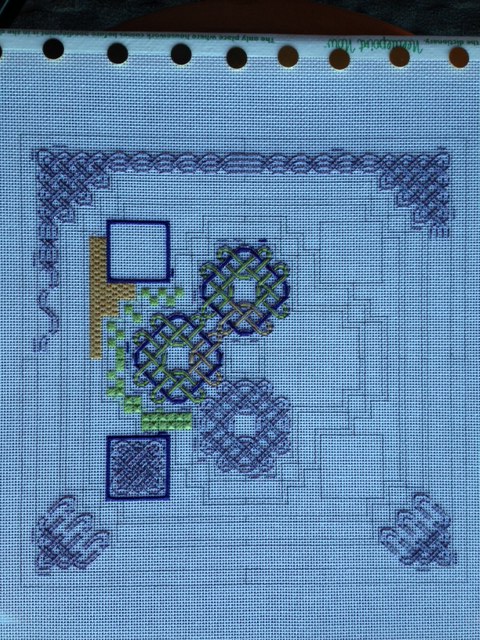
Today was a relaxing, kickback day. I became acquainted with what the seminar has to offer. Of course my favorite activity, besides stitching of course, was viewing the exhibit of all the beautiful pieces sent by ANG members.

Tomorrow I have the first day of my three day class. Wish me luck!

I am trying a different app to write this blog. If it looks or acts strange, please give me feedback. Thanks!

Color Play, day 2

Standard

Today was a good day for stitching! We began with the background stitch which is a double running stitch that creates a hexagon design when completed. Three back and forth passes create the honeycomb. We worked a row across the top or bottom to create the frame work and will complete the background off of that section. The stitch is worked with a single strand of DMC Jewel Effects. The way that the light reflects off it makes a perfect simple background. We did start the last hexagon which will eventually use four different threads to complete it. Now it looks a bit like a smattering of mud on top. Once I established the design and completed the thread. I returned to complete the two smaller hexagons and to work on one of the large ones. The addition of the red thread, only a single line in each pattern made all the difference. It was a fun class and oh what I learned!

Day 2of Color Play

Sue