What a blast we had yesterday at the Ornament Finishing Workshop by Kelly Starke of Starke Art Designs! About 15 NJNA members gathered together to learn the secrets of finishing our own ornaments. What a relief to be able to wait until the last minute to frantically stitch an ornament and then get it finished in time for the intended recipient. What – you mean some people actually plan in advance?
Thanks and kudos to our Workshop Chair Jacqui C in arranging for Kelly and Robin to travel to New Jersey so that we could have a full day devoted to hands-on training in how to finish our ornaments, both round ones and those pesky odd-shaped pieces. We had a last-minute change in venue (our original location canceled our reservation on Thursday!) and Jacqui had to scramble to find an alternate location, which turned out to be just perfect. Our morning class working on round ornaments and our afternoon class of other shapes were able to proceed.
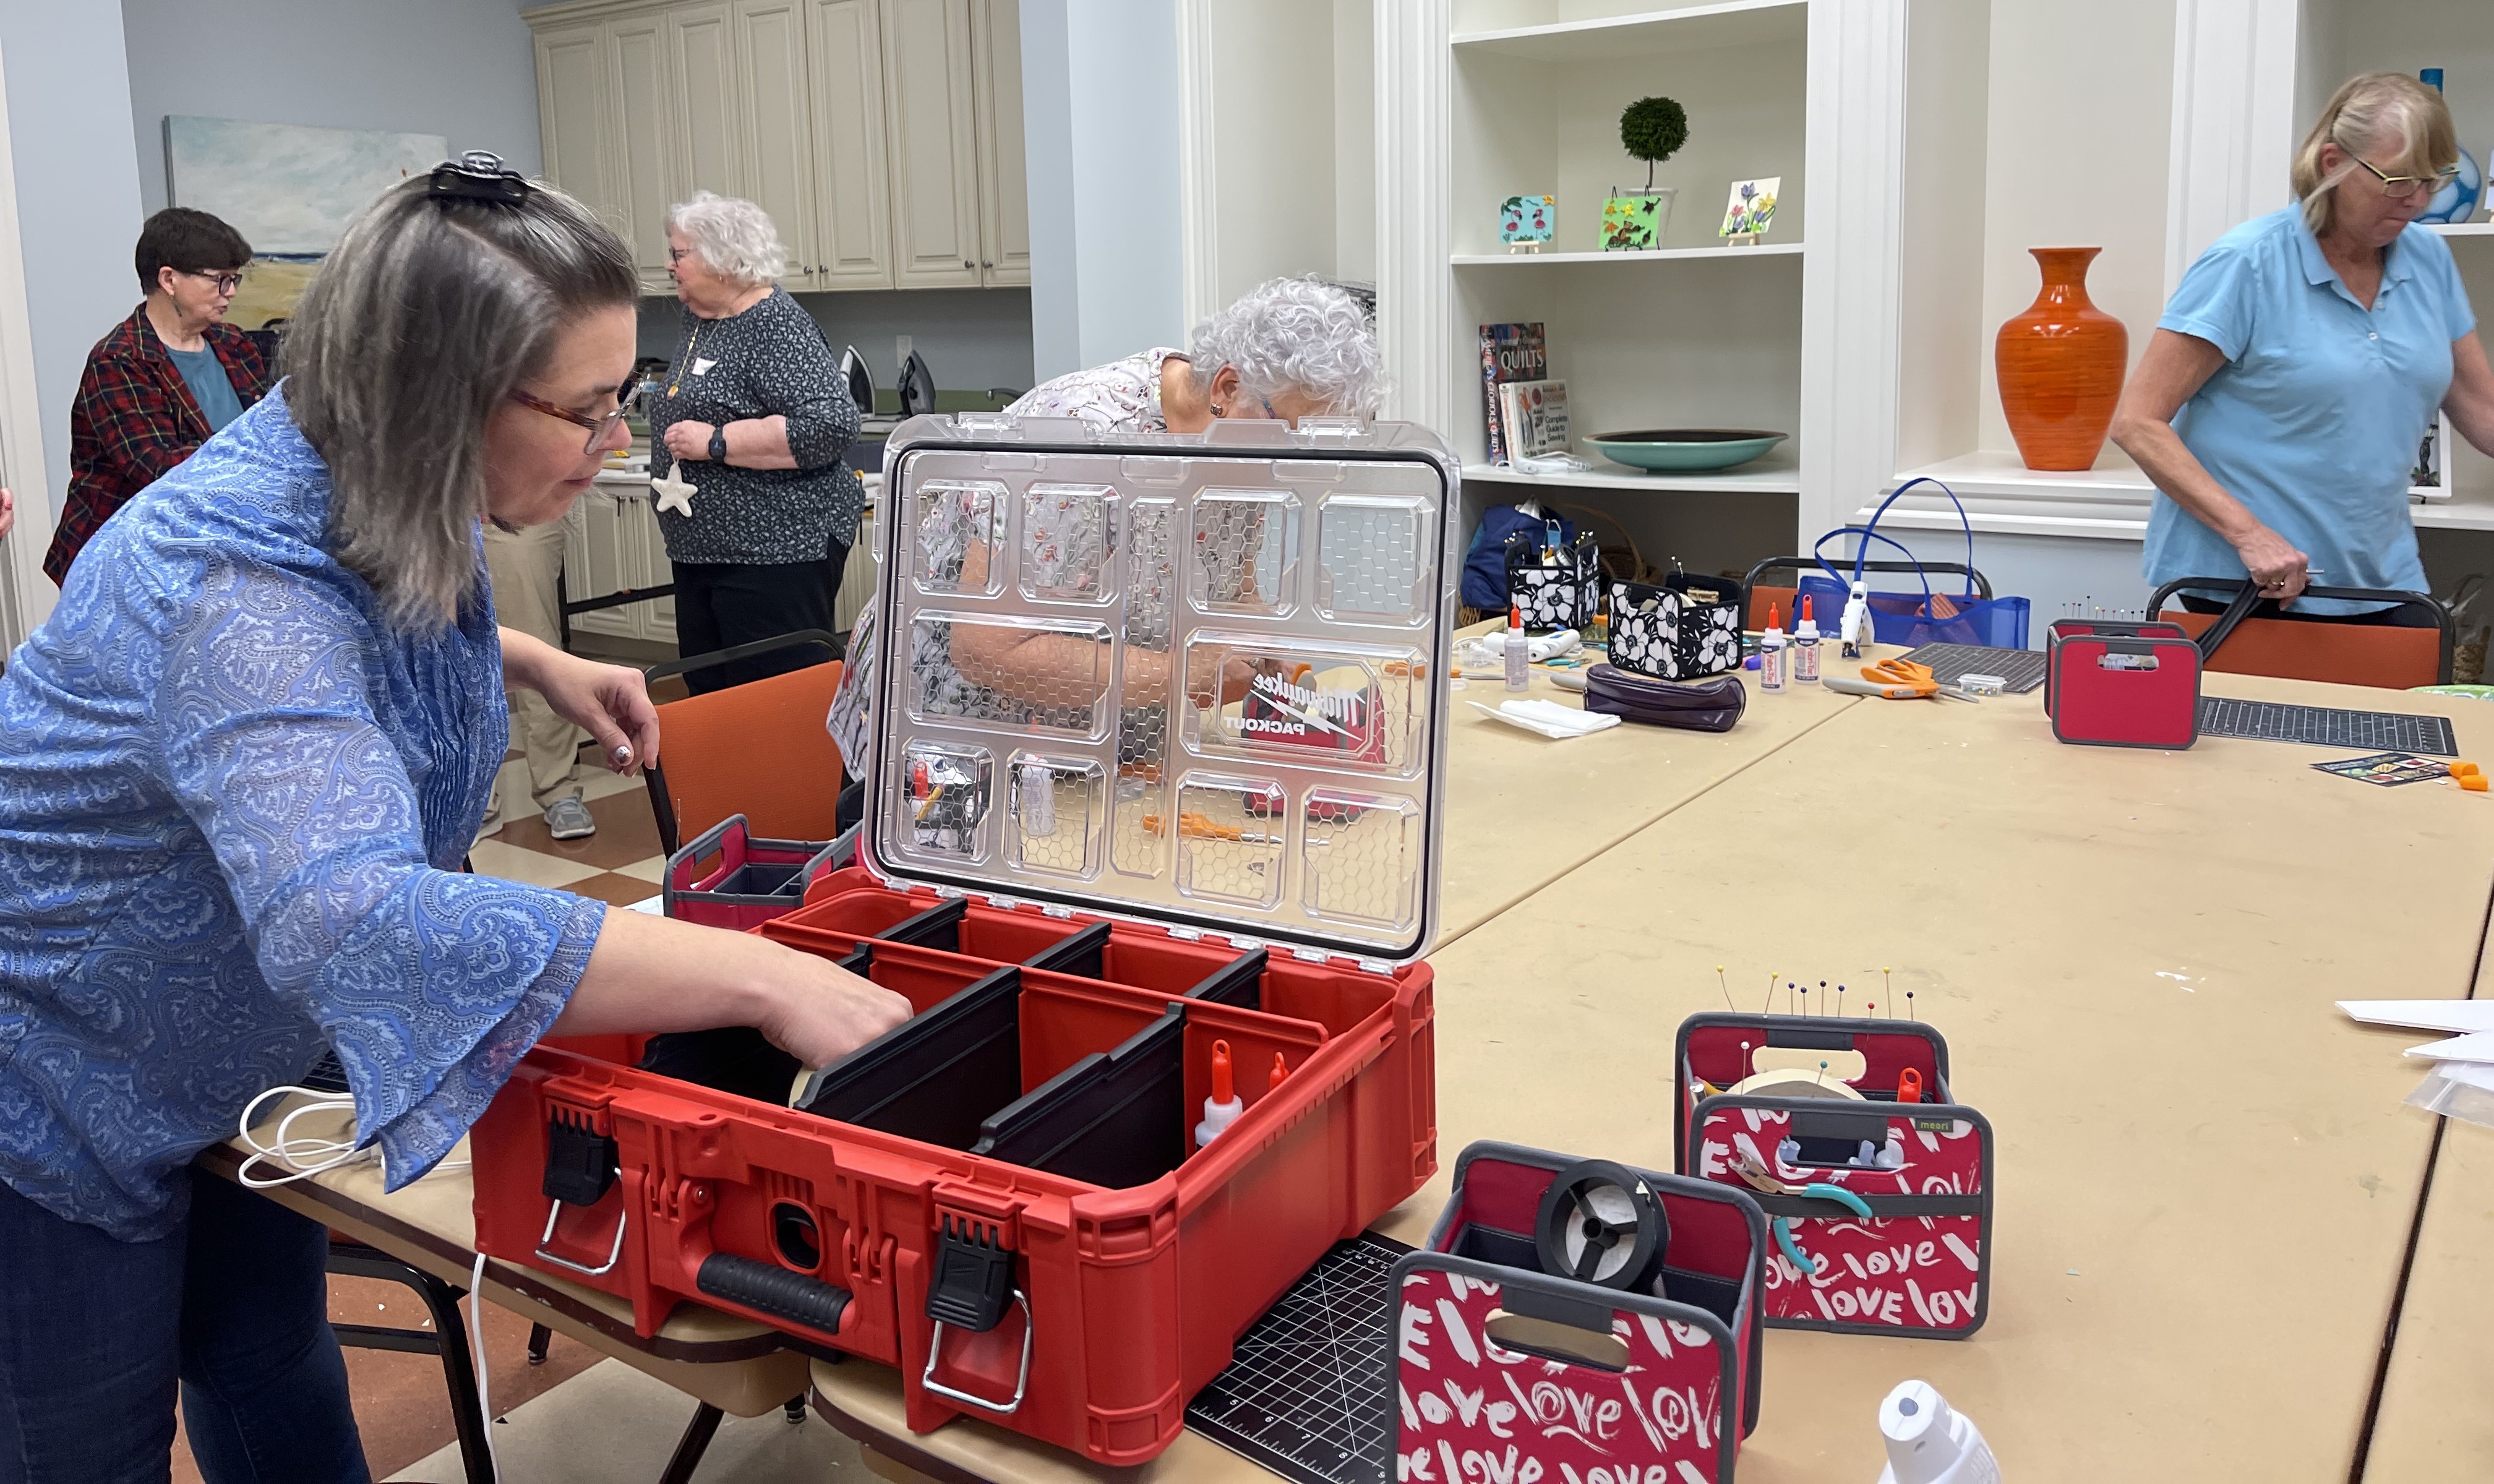
Here are the early arrivals getting ready for class. Isn’t that a great space for our workshop – the lighting was terrific!

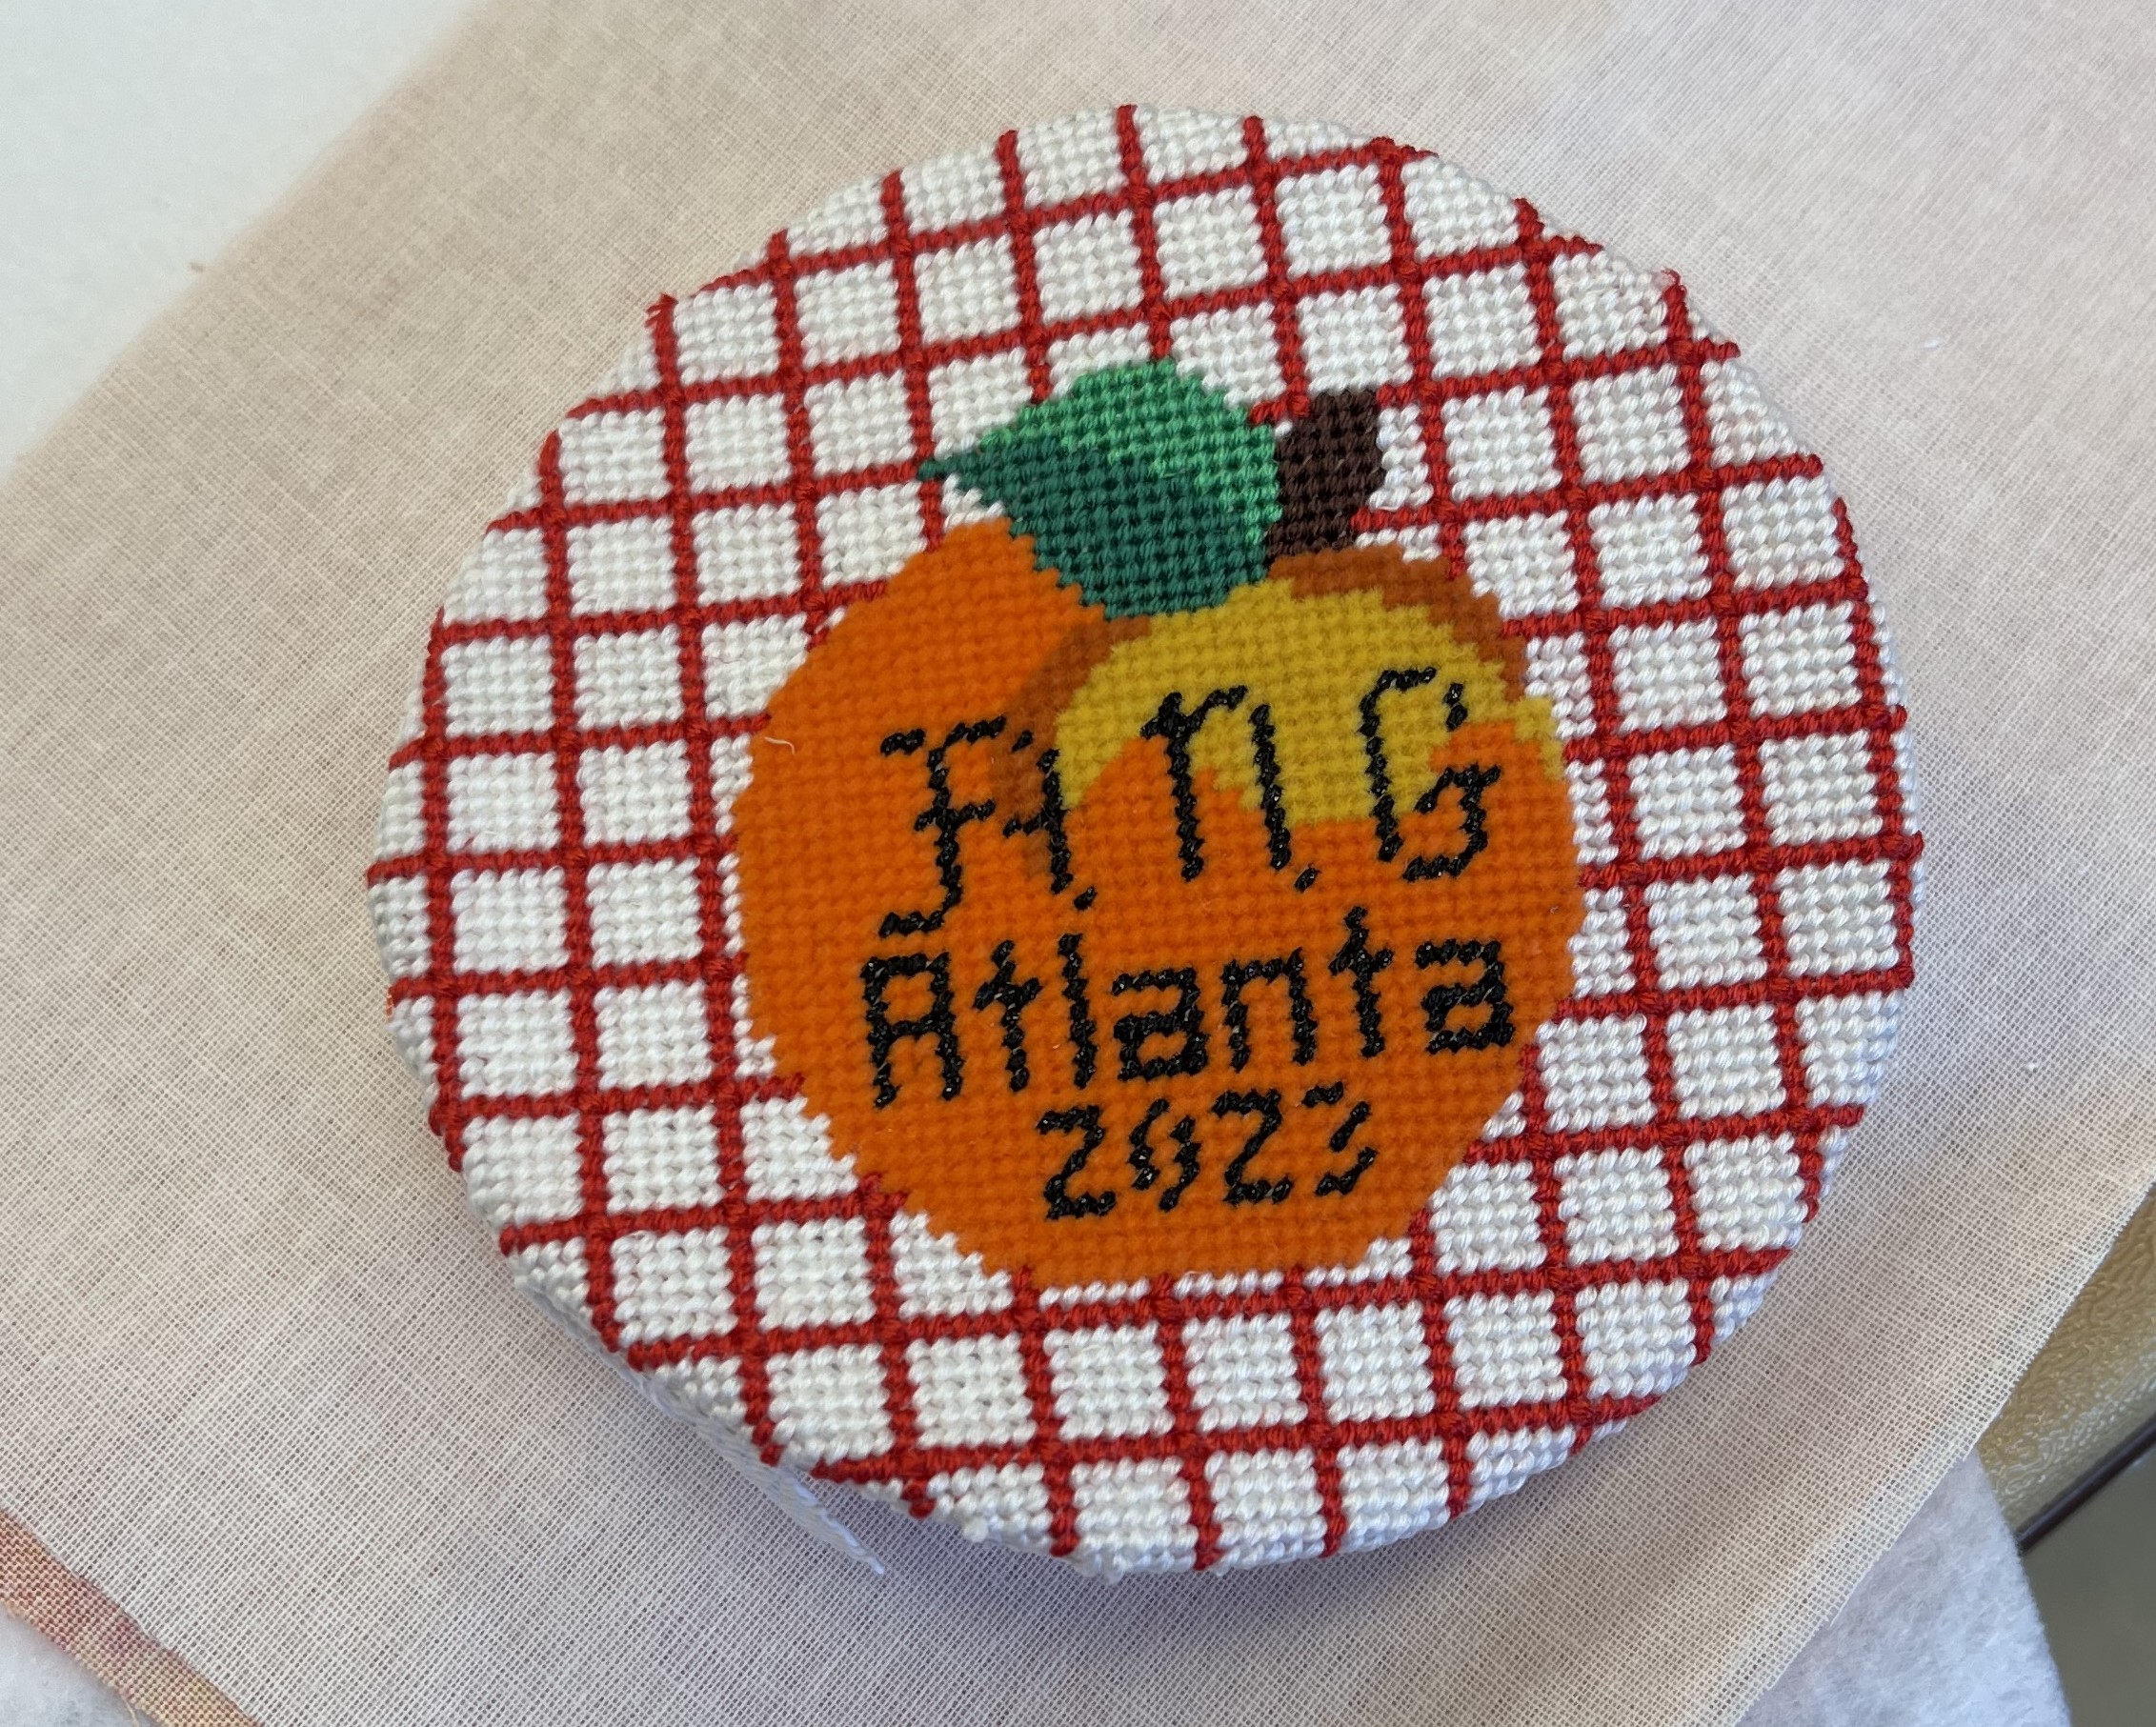
Once everyone was settled, we started to cut out our canvases, foamcore, and fabric to be used to build up our ornament. Here is my round ornament both the back after the “darting” and the front…

We also learned a new way to make cording – using a cordless drill and a vise. Fortunately, Mr. M has both – I apparently gave them to him last Christmas. Who knew I’d be using them myself!

Here’s everyone busy at work. Kelly and Robin had everything we needed for the class. The kit included round ornament templates of varying sizes and those cute caddies had pins, scissors, glue, Xacto knives, and tape. Kelly even had the drills, vises, irons, and cutting mats, as well as a few other bits and bobs.

In just about 3 hours, we all had our round ornaments completed. Yes, everyone finished their ornament at the same time!

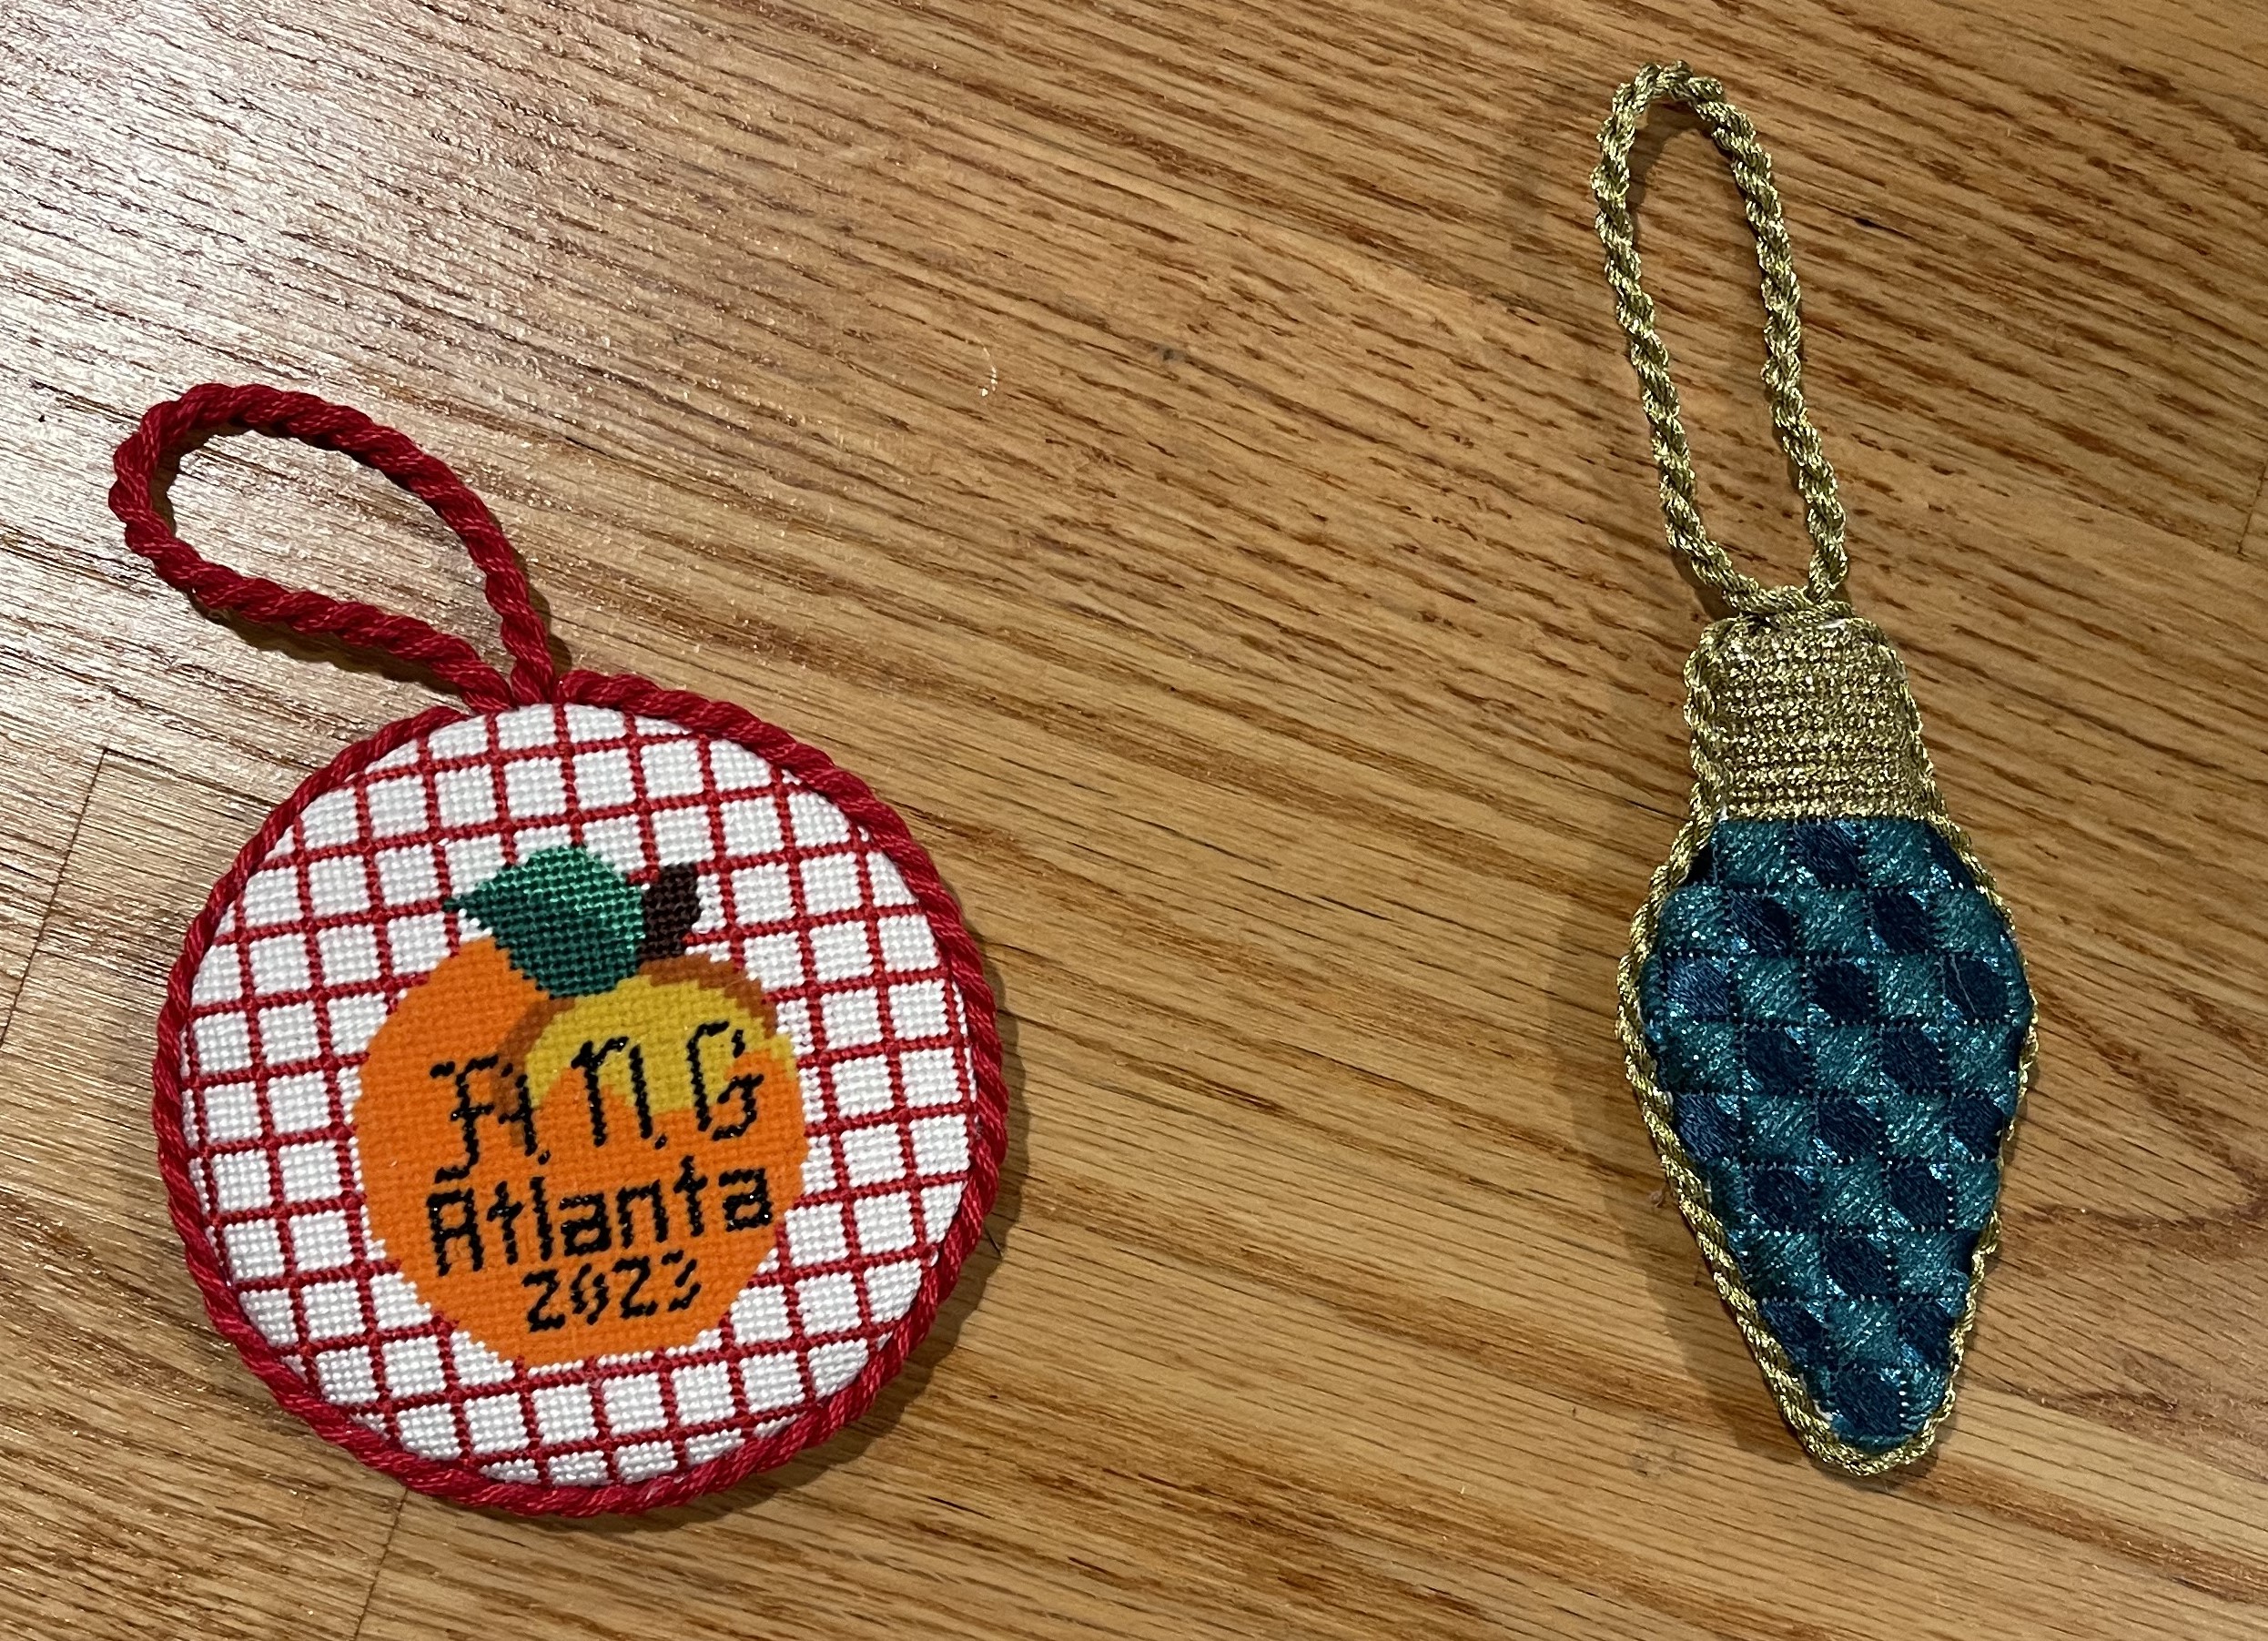
The afternoon class continued our journey into finishing shaped ornaments – three of us had light bulbs, and then there were a snowman, a mini stocking, an octagon, a star, a bell, a door hang, and a Christmas tree. The steps for completing are essentially the same as for the round ornaments. But with Kelly and Robin’s assistance, we learned how to “marry” the cording so that the one can’t tell where the cord starts and ends (not necessarily where the hanger is placed), where to place the “darts” so that the canvas can be folded over the foamcore smoothly, and – most importantly – how to fix the little mistakes that can occur during the finishing process.

And with that – our shaped ornaments are done.

Clean up went quickly as Kelly and Robin have everything really well-organized!
Since it’s my post, I get to show you my two finished ornaments!
Thank you, Kelly and Robin, for sharing your knowledge and expertise so willingly. You made the day fly by with your encouragement and good cheer! I’m now ready to try some finishing on my own. I did, however, have to stop Mr. M about 3 minutes into his speech about how to use a cordless drill!
Thanks again to Jacqui for setting up this workshop and for not panicking (at least not too much) after the venue was cancelled. The alternate venue turned out to be a wonderful location for the workshop. I think the day was a huge success.
And thank you to all the NJNA members who signed up for the workshop. We appreciate your support of the Chapter’s activities.
More information about Kelly Starke Designs can be found on her website starkeartdesigns.com. She is also found on Facebook, Instagram, and YouTube.
Happy Stitching!
Linda

Great class! Now that I know how an ornament can be done in 3 hours, maybe my next one won’t take all day.